Pumpkin carving can be a tricky task, especially if someone is unfamiliar with useful techniques. Below are five simple steps that will make the process much smoother, helping others who may wonder how they, too, can create a captivating carving.
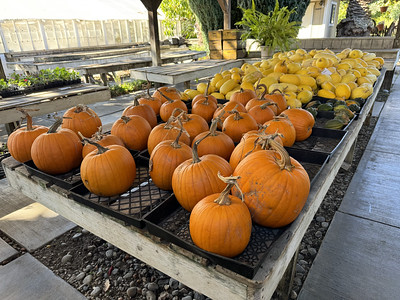
1: Find a pumpkin
To have the perfect carving, it all starts with the pumpkin. If a person picks a damaged one with random dents and holes, it can be much harder to deal with. It is important to choose one that is unblemished and has a flat bottom so it can easily stand up.
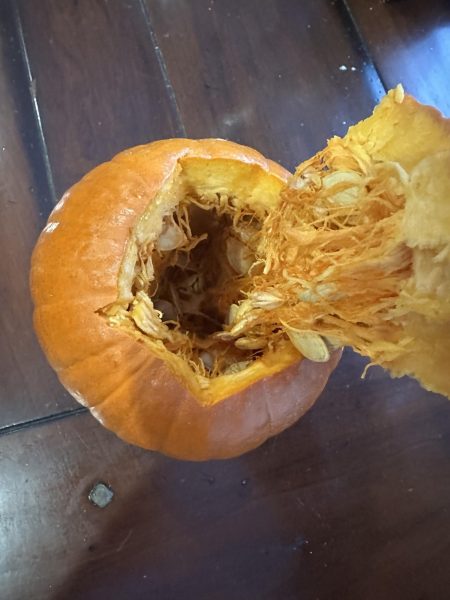
2: Remove the guts
Before engraving into it, the first action is to remove the guts and scrape the inside of the pumpkin’s sides to make them thinner, allowing a knife to cut through easily. If one wants to utilize the flesh and not discard it, many recipes can turn it into an edible item, such as hummus, juice or roasting the seeds.
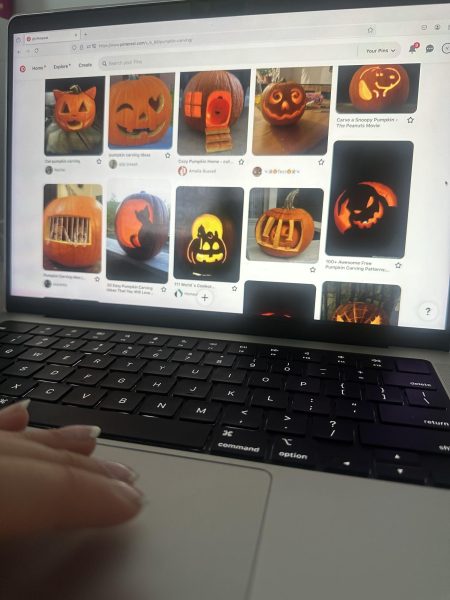
3: Choose a design
Utilizing various social media platforms can be helpful when finding a design. There are a wide variety of examples, including simple ghosts, mysterious cats or beloved Halloween characters, like Jack Skellington. It can also be helpful to use different-sized knives when cutting: smaller for more intricate designs or larger for more extensive parts that need to be cut.
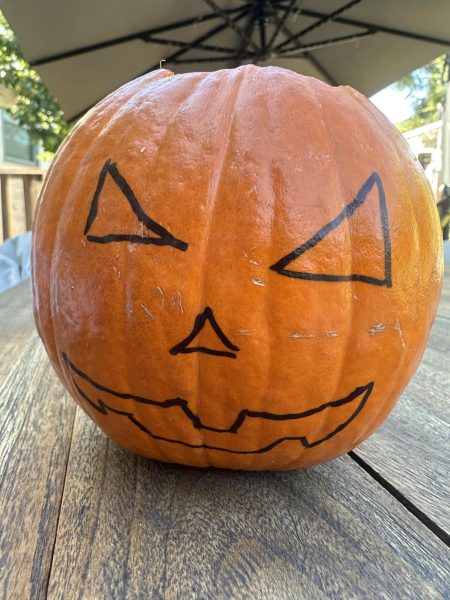
4: Draw and outline on the pumpkin
Then, to make the process more manageable, sketching a design can significantly help ensure nothing gets messed up. A dry-erase marker or a Sharpie are both great tools, as they are easier to see than a pencil and will not fade away.
5: Display your pumpkin
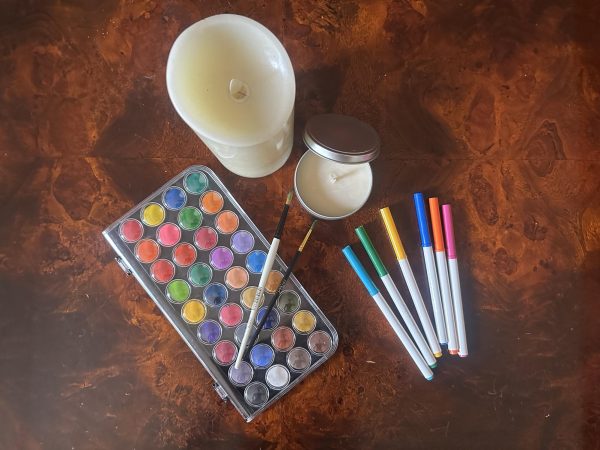
After finishing, many incorporate candles to brighten up the pumpkin, and using different-colored lights, instead of the typical yellow flame, is unique. Some people also paint theirs, which can add an exciting feature alongside a standard carving.
There are many different ways to carve a pumpkin, but these tips and tricks will surely make the process less complicated and leave more room for fun.


